RGB & SHO image processing workflows, 2024 edition
In the past few years the tools used to process astro-images have made a generational leap. Tools built into PixInsight, like WBPP (Weighted Batch Preprocessor), have simplified calibration and integration, while other free tools, like Generalized Hyperbolic Stretch (GHS), and SetiAstro’s helpers are making processing in PI easier (once you learn them). Other, paid tools, like RC-Astro’s *XTerminator tools have amplified the leap. In this post I’ll walk through a high-level overview of how I process images. It’s repeatable, pretty streamlined, and I think that you can get pretty good results without a lot of theory or math.

I’ll start out by reiterating that this is my 2024 workflow, because odds are that it will change. More new tools, new techniques, and more learning.
If you want to cut to the chase, you can (always) download my process icons by cloning my pixinsight-icons GitHub repo or downloading them as a zip file
High-high-level overview of the process
For my primary imaging rig (I should document that somewhere, it’s gone through a few revisions), I tend to shoot both narrowband and broadband images, with per-filter exposure times as follows:
- Lum (180s)
- Red (300s)
- Green (300s)
- Blue (300s)
- Sii (600s)
- Ha (600s)
- Oiii (600s)
If I’m just processing a single night of data I might not go through the entire process, but even then it’s still similar to the flow I use for final images.
A preliminary step is to use WBPP to calibrate and cosmetically correct frames
(if that’s not already done), and to align, register and integrate them. I turn
off the autocrop and embedding of the rejection maps in WBPP– My raw frames are
already 120mb, I don’t need them bigger ![]()
Once I’ve got the calibrated and integrated master frames, I proceed to the flow. Note that for things like globular clusters I might not do the SHO path, unless there’s something interesting.
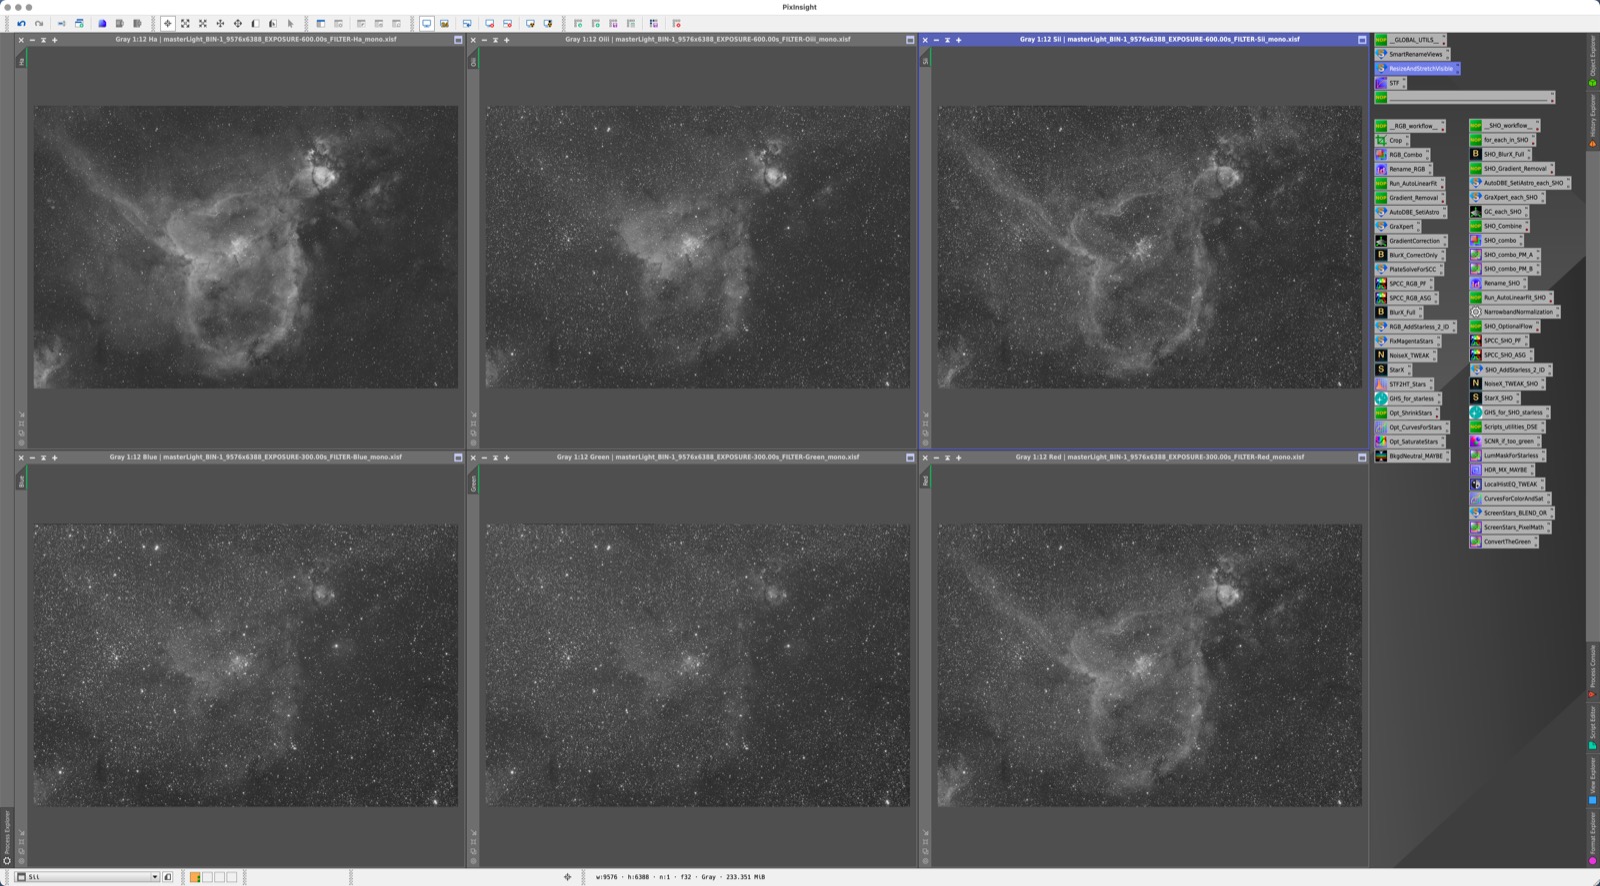
- Open, tile, rename, and stretch the applicable L/R/G/B and S/H/O frames
- Process the RGB frames together
- Process the SHO frames separately
- Merge the RGB stars with the SHO starless
- Final tweaking
Breaking down the flow overview

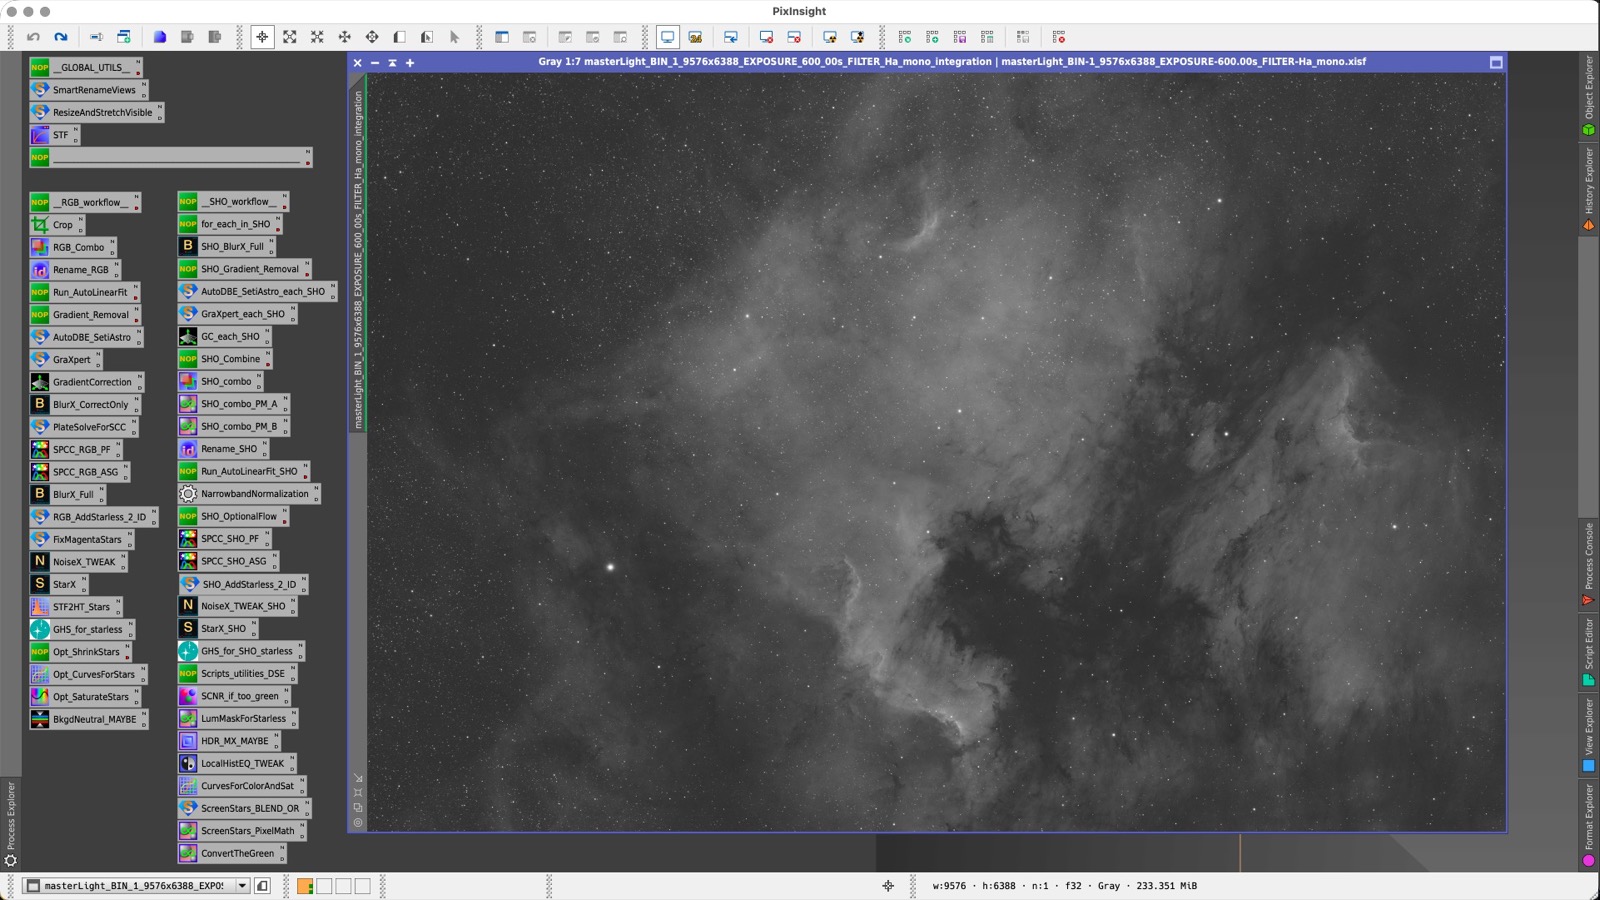
For the first “Open, tile, rename, and stretch” step I use the scripts that I created to get to a baseline view of what I’ve got. In this case you can see what that looks like for the Heart Nebula that I recently processed. Once I’m to this point I can start the flows.
Disclaimer on any of the menus/script locations: Some of the tools aren’t built in, but if you include the repos in the appendix they should be in the right places.
The RGB Workflow
![]()
For each of the workflows I’ve included a screenshot of the PixInsight
process icons that I
use for the flow. I pretty much start at the top and work my way down.
For scripts that don’t provide the ability to create a new instance (the
little triangle), I put a “No Op” (NOP in the set) as a placeholder, with
a descriptive name and, in some cases, details in the icon description.)
-
DynamicCrop(note that I crop the SHO and RGB frames with the same instance of dynamic crop) - Combine (L)RGB channels (I just open this and run it)
- Rename the combined image as
RGB(I still use anImageIdentifiericon for this, since it’s static) - Once I’ve got the RGB image I usually iconize the individual channels and drag them off to the side
- at this point it’s probably going to be way off on color, so I do an unlinked STF stretch
- Run the script
AutoLinearFiton the combined RGB, usually set to use the red frame (alternatively, manual linear fit, before the combine)- A note here: I’ve had issues with BlurXTerminator if I use the
Lowest Meansetting onAutoLinearFit
- A note here: I’ve had issues with BlurXTerminator if I use the
- Another unlinked STF stretch here doesn’t hurt
- Gradient Removal: I run through a few different methods to see which works best for a particular image. I go through these tools to compare:
- Seti Astro’s “Automatic DBE”
- GraXpert
- The new GradientCorrection tool
- I generally clone the RGB image during the gradient experimentation, but when I’ve chosen, I apply it to the actual RGB so the image history stays intact
- I drop on the
BlurX_CorrectOnlyicon, which is BlurXTerminator, with the “correct only” option selected- This is supposed to help with the plate solve (which usually gets borked in the crop)
- I actually don’t always do this step unless the next ones fail
- I drop on the
PlateSolveForSCCicon to get the solution. Even though the crop loses data, this usually still works - Then comes the actual SPCC, or
Spectophotometric Color Calibration, for which I use one of two flavors, depending on the object type:- For spiral galaxies, I drop on the
SPCC_RGB_ASGicon (the “ASG” is for “average spiral galaxy”) - For everything else I use the
SPCC_RGB_PF(photon flux) variant - An important note for this step is that you MUST UPDATE the process to set the correct sensor and filter types for your equipment. Once you do that you can swap out the icon for your info
- For spiral galaxies, I drop on the
- CHECKPOINT: We should now have a gradient-free, color-calibrated image
- Perform a full BlurXTerminator correction, by dropping on the
BlurX_Fullicon - Drop on the
RGB_AddStarless_2_ID, to rename the image toRGB_starless - If needed I drop on the
FixMagentaStars - I’d then try noise reduction with NoiseXTerminator by dropping on the
NoiseX_Tweakicon- I call it “tweak” because, with some images, I’ve got to jiggle the handles a bit to get a good look
- Like above, I make sure that the final execution is on the same image with the history
- We’re now getting in the home stretch! I extract the stars with StarXTerminator by dropping on
StarX(which has the “Unscreen” option checked) - Finally, I carefully make the STF-autostretched stars stretch permanent, by dragging the STF state onto the
HistogramTransformationprocess, then applying it to the stars
At this point I might be done with the RGB side, unless there’s something cool
in the starless version. If I did it all right, I’m ending up with two new
images: an RGB_starless and RGB_starless_stars. I might play with the
starless version and rescreen the stars (definitely will if there aren’t any
narrowband frames), but I usually move on to the SHO side.
SHO Workflow
Right off the bat: there are some icons in this that I do not use for final images, but I keep them around for quick sanity checks of data. A good example are the SPCC steps in the SHO path
![]()
Like the RGB flow, I’m starting out with open narrowband frames, but I don’t merge them right away, but rather do a little mental loop… For EACH of the SHO frames, I do the following:
- Perform some magic by dropping the
SHO_BlurX_Fullicon on them - Experiment with the various gradient removal techniques, similar to the RGB flow (but, instead, on the discrete frames)
- OPTIONALLY, Stretch the frames with GHS (this can be done later, after they’re combined)
Then I combine the images into an SHO image, mapping Sii → Red, Ha → Green, and Oiii → Blue. **Don’t Panic. It’s gonna be green. Very **green… There are a couple different options, but the straight channel **mapping has been working for me as it goes through the workflow
- With my newly combined image, I drop on the
Rename_SHOicon to change the image identifier to beSHO - I run the script
Script → Toolbox → AutoLinearFiton the newSHOwith the green channel as the reference - I perform
NarrowbandNormalizationon theSHOimage, selecting theSHOpalette, turning on the live preview, and tweaking the channel controls and adjustments (if you don’t know what they do, just crank them to 0 or 11 to see the impact) - then an STF autostretch
- I skip the SPCC options
- In preparation for StarX, I drop on the
SHO_AddStarless_2_ID, to rename mySHOtoSHO_starless - I drop the
NoiseX_TWEAK_SHOicon onto the image, then decide if I need to tweak the settings (I find that, once you’re familiar with your images, you can get pretty consistent results) - then, nuke the stars!
- This should leave you with
SHO_starlessandSHO_starless_starsimages - if you have an
RGB_starless_starsimage, theSHO_starlessimage is probably no longer needed
- This should leave you with
- If you haven’t stretched yet (AKA, the image is still linear), run a GHS on the
SHO_starlessimage- Experiment on where you do this step (before vs after combining). It’s easy to overstretch if you do it earlier in the process, but you can get a lot more detail that way
- Depending on the subject, I try the “DarkStructureEnhance” script, which is in the
Script → Utilitiesmenu
The rest is usually experimenting with the overall look. Maybe enhancing the hue or saturation with curves or a “local histogram equalization”.
The last step is screening back in the stars, but I usually safe off a copy of
the SHO_starless image first. If the RGB_starless_stars are too big I try to
shrink them a bit.
You can use basic pixelmath for that, or the new ImageBlend script (I’ve got icons for both of those). If you’ve been following the same conventions I have they should just work. If you HAVEN’T, change the icons to match your flow.
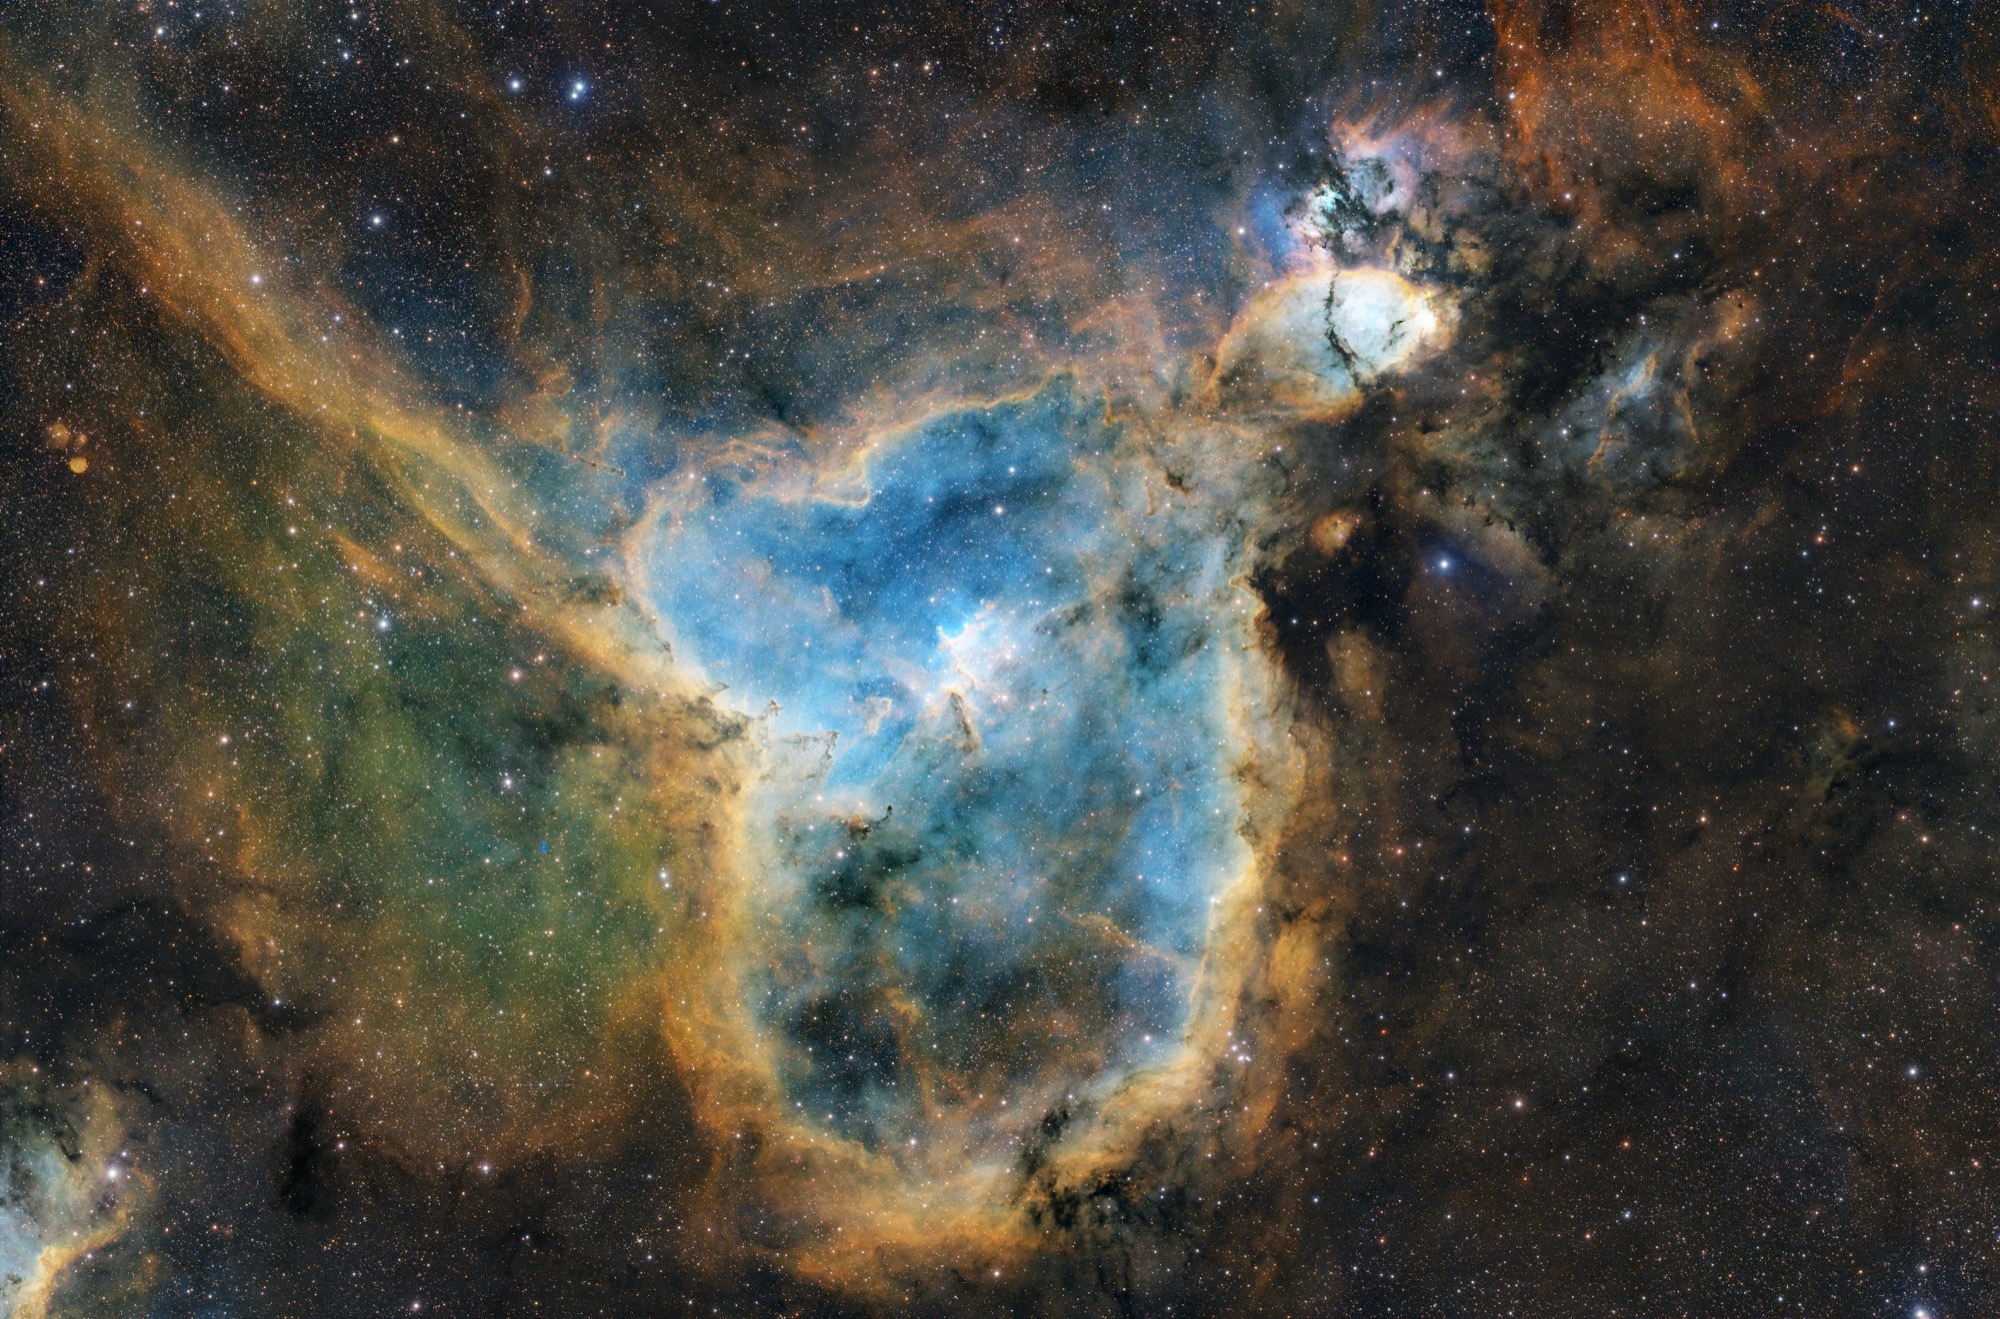
This Heart Nebula was the first image that I took through this flow start to finish, and I was very pleased with the results (and I even got a top-pick nomination for it on AstroBin)


Useful?
If you want to provide feedback, hit a snag, or just want to let me know that you’ve used the icons (or my scripts), file an issue on the GitHub repo, or let me know on AstroBin or instagram.
Appendix
Repositories
The repos that I use in these flows:
https://www.ghsastro.co.uk/updates/
https://www.cosmicphotons.com/pi-modules/narrowbandnormalization/
https://www.ideviceapps.de/PixInsight/Utilities/
https://www.cosmicphotons.com/pi-scripts/starreduction/
https://www.cosmicphotons.com/pi-scripts/imageblend/
https://raw.githubusercontent.com/setiastro/pixinsight-updates/main/
https://raw.githubusercontent.com/jamiesmith/pixinsight-repo/main/
And the others that I have configured
https://www.cosmicphotons.com/pi-scripts/nbcolourmapper/
https://elveteek.ch/pixinsight-updates/ez-processing-suite/
https://foraxxpaletteutility.com/FPU/
https://www.cosmicphotons.com/pi-scripts/bfke/
https://www.skypixels.at/HVB_Repository/
