Image processing: PixInsight scripts from theAstroShed
I use PixInsight to process my images and I’ve gotten to a point where I feel that I have a pretty repeatable workflow (note that I didn’t say that I’m good). I’ve created a few tools along the way that make things easier for me, which I figured I’d share with the community.
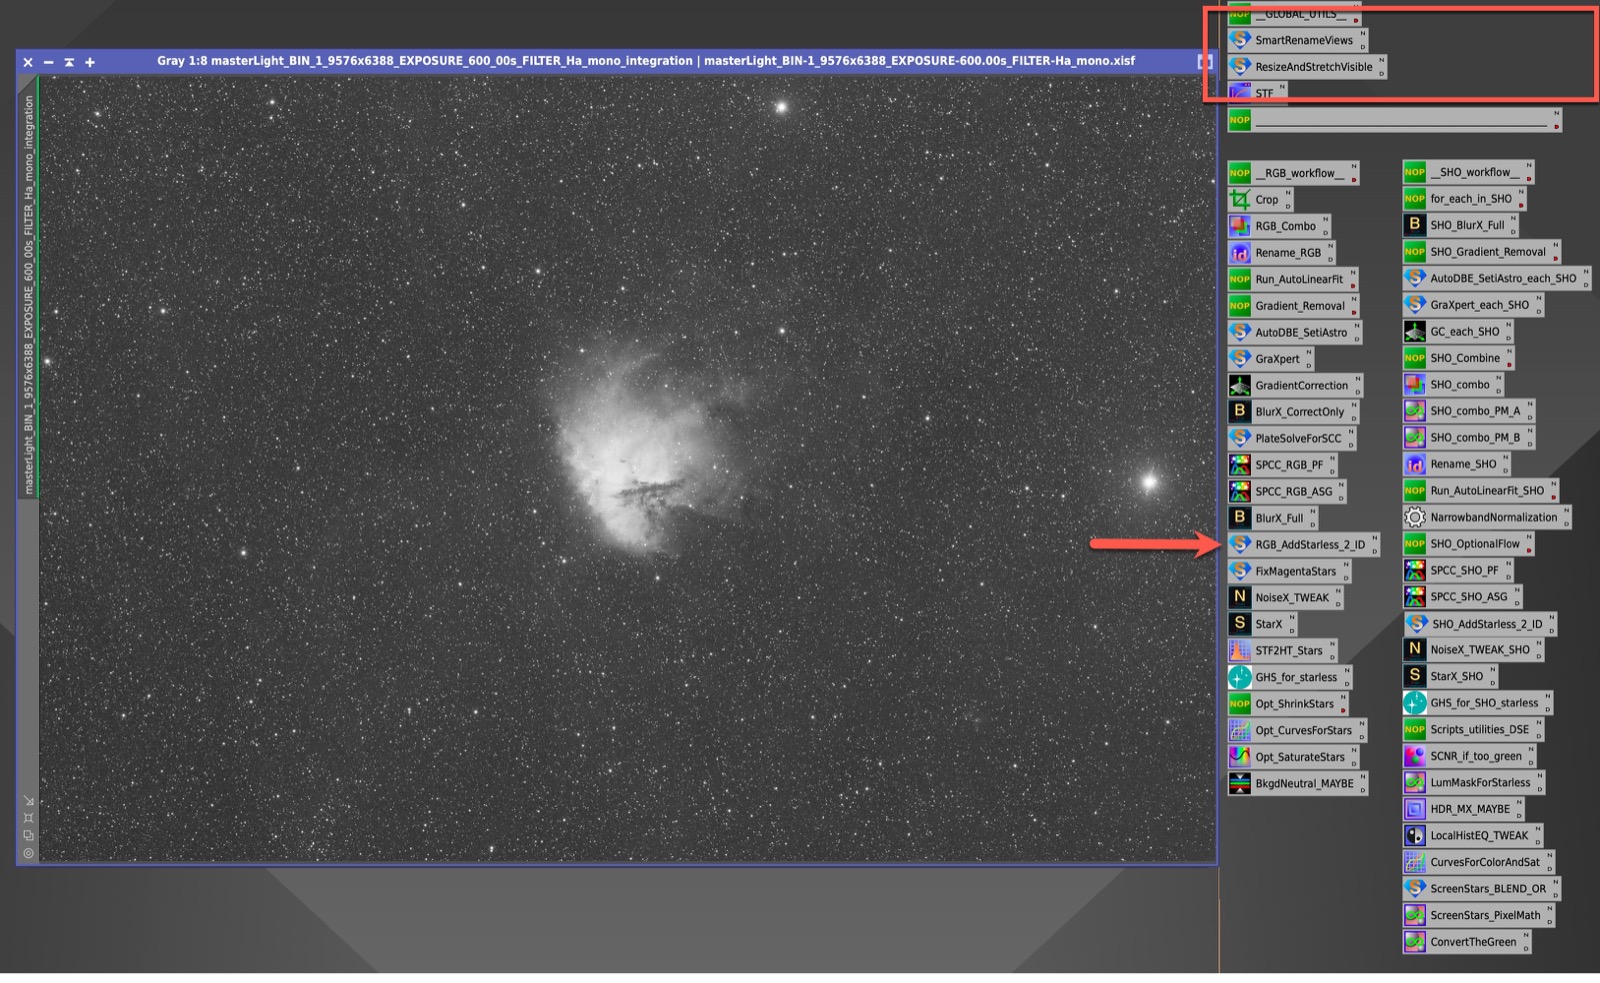
Preliminary workflow
Like many folks my image processing sessions usually start out with a
combination of Blink and WBPP (weighted batch preprocessor). I also follow a
pretty standard method for organizing my
images. Once WBPP is done,
whether I’m processing a final image, or just trying to get a feel for the data
(and to decide how much more data I need), I kick through a standard set of
steps:
TL;DR: you can add this to your PixInsight Repositories to get the theAstroShed menu and corresponding scripts:
https://raw.githubusercontent.com/jamiesmith/pixinsight-repo/main/
1) Open all of the master images in PixInsight
I drag & drop all of the images that I want to open from Finder onto the PixInsight workspace
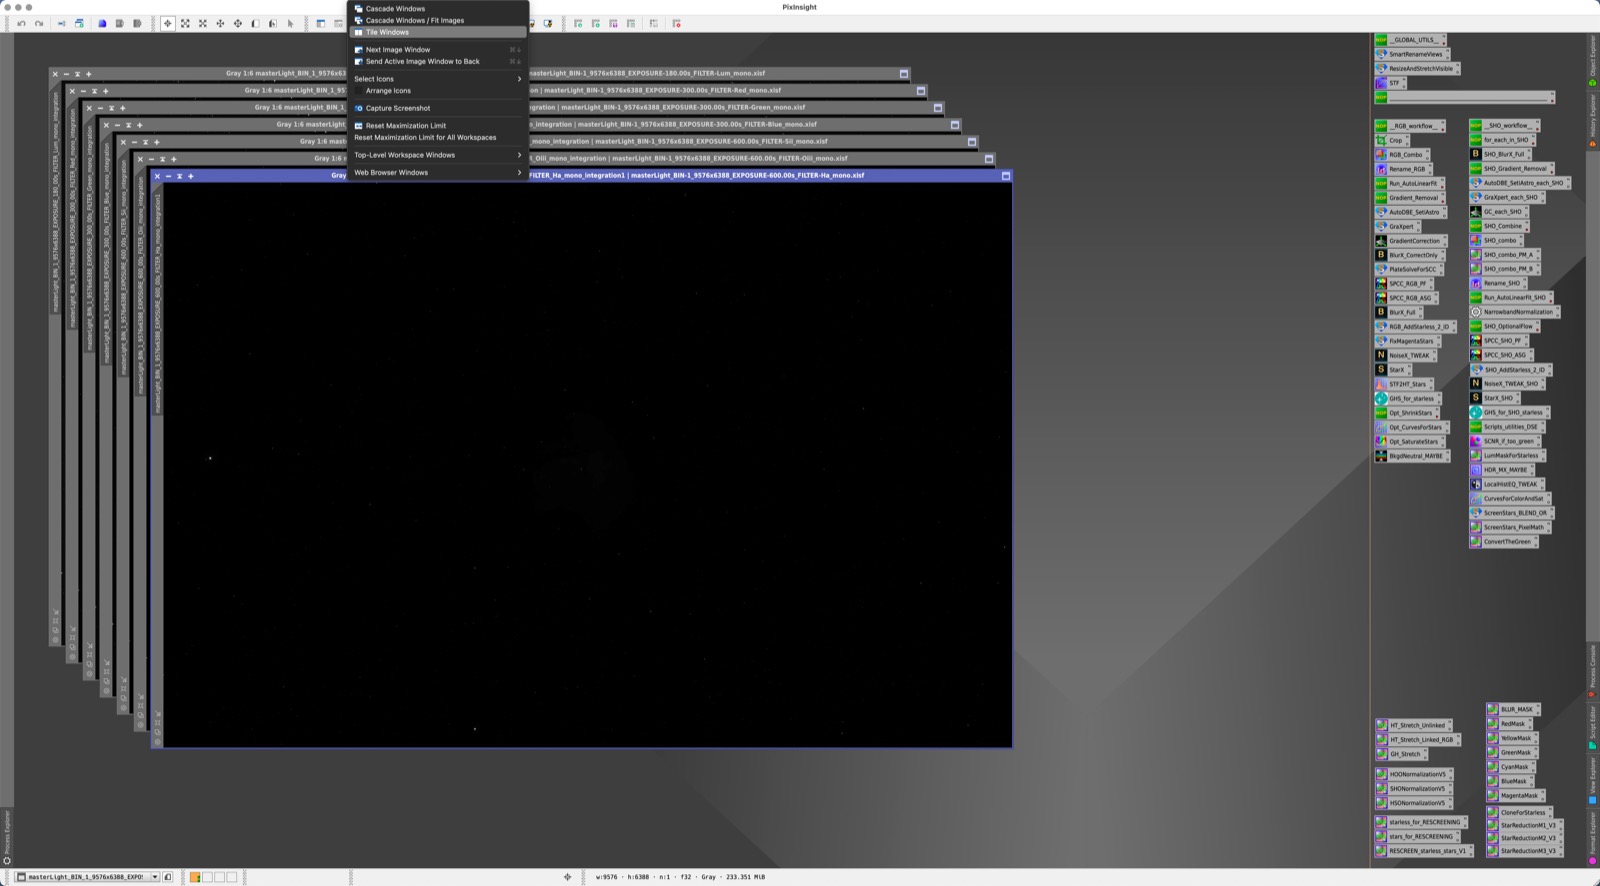
This leaves them cascaded and unstretched, with their WBPP names (for example,
the totally clear Ha frame,
masterLight_BIN-1_9576x6388_EXPOSURE-600.00s_FILTER-Ha_mono.xisf). Once
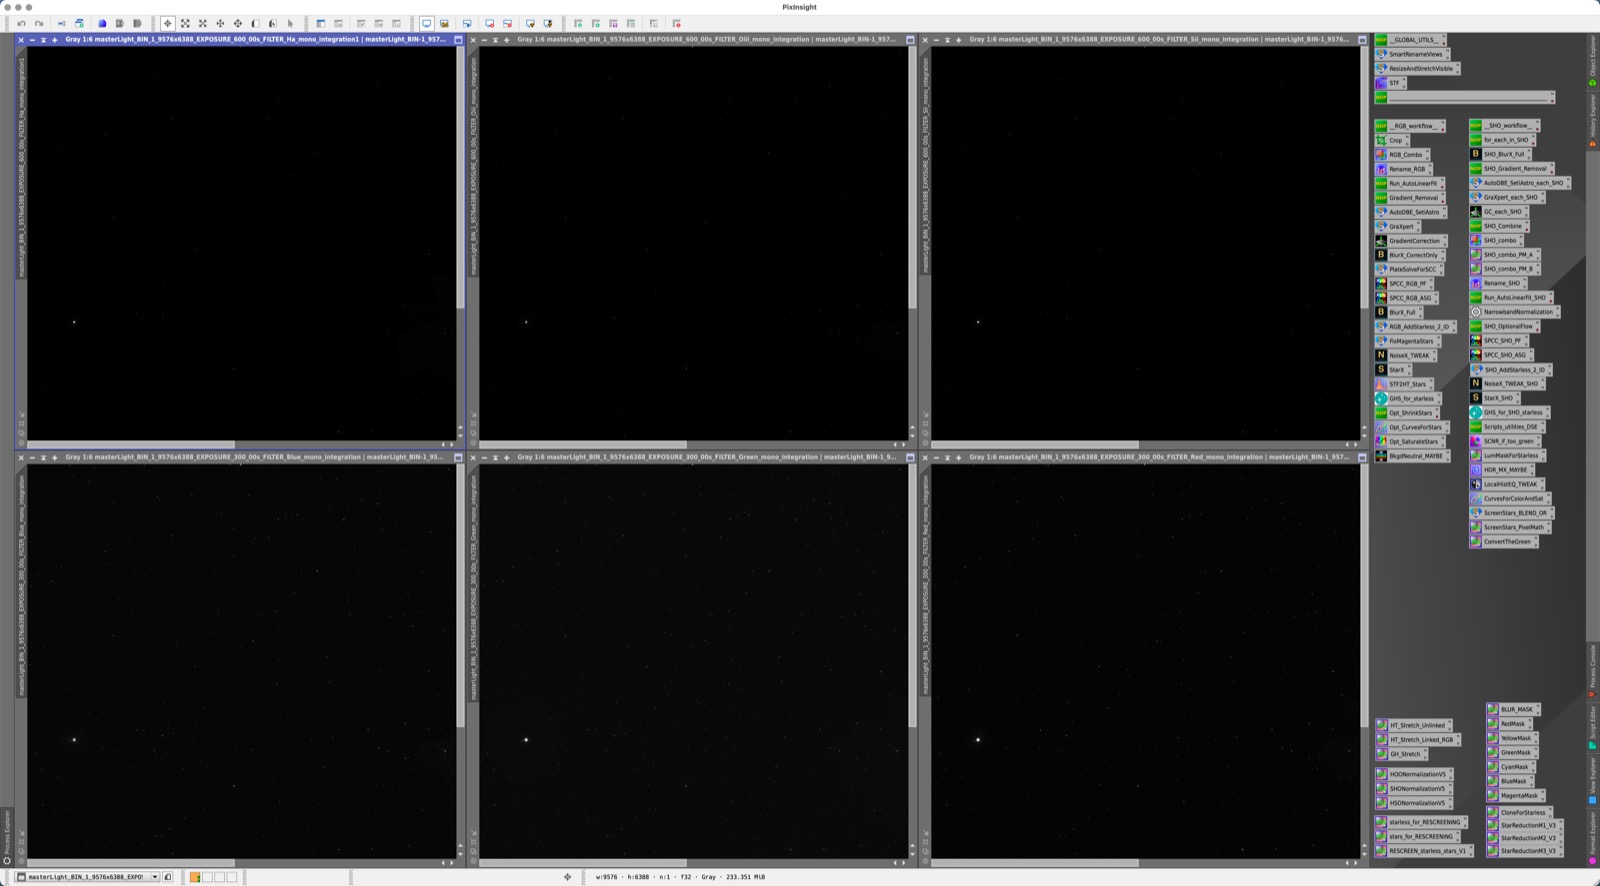
they’re all open I select the Window → Tile Windows command, which leaves
them like this:
2) See what I’ve got
Now we’ve got multiple images tiled, unstretched, with their long WBPP
names. When I first started working this way, I’d go through each of those
images on the workspace, change the image ID to match the filter (so, that
masterLight_BIN-1_9576x6388_EXPOSURE-600.00s_FILTER-Ha_mono frame from above
becomes just Ha, and so on.) Then I’d ⌘ + A to autostretch each one (and,
for at least one, I’d forget to click on the image first and have to redo
it). After doing this for a while I just created some ImageIdentifier process
icons for each of my Sii, Ha, Oiii, Lum, Red, Green, and Blue
filters. Now I was able to just drag & drop each icon on its corresponding image
(and hope to not screw up). Oh, and then still stretch each of them. And zoom
them in. It would end up looking something like this:
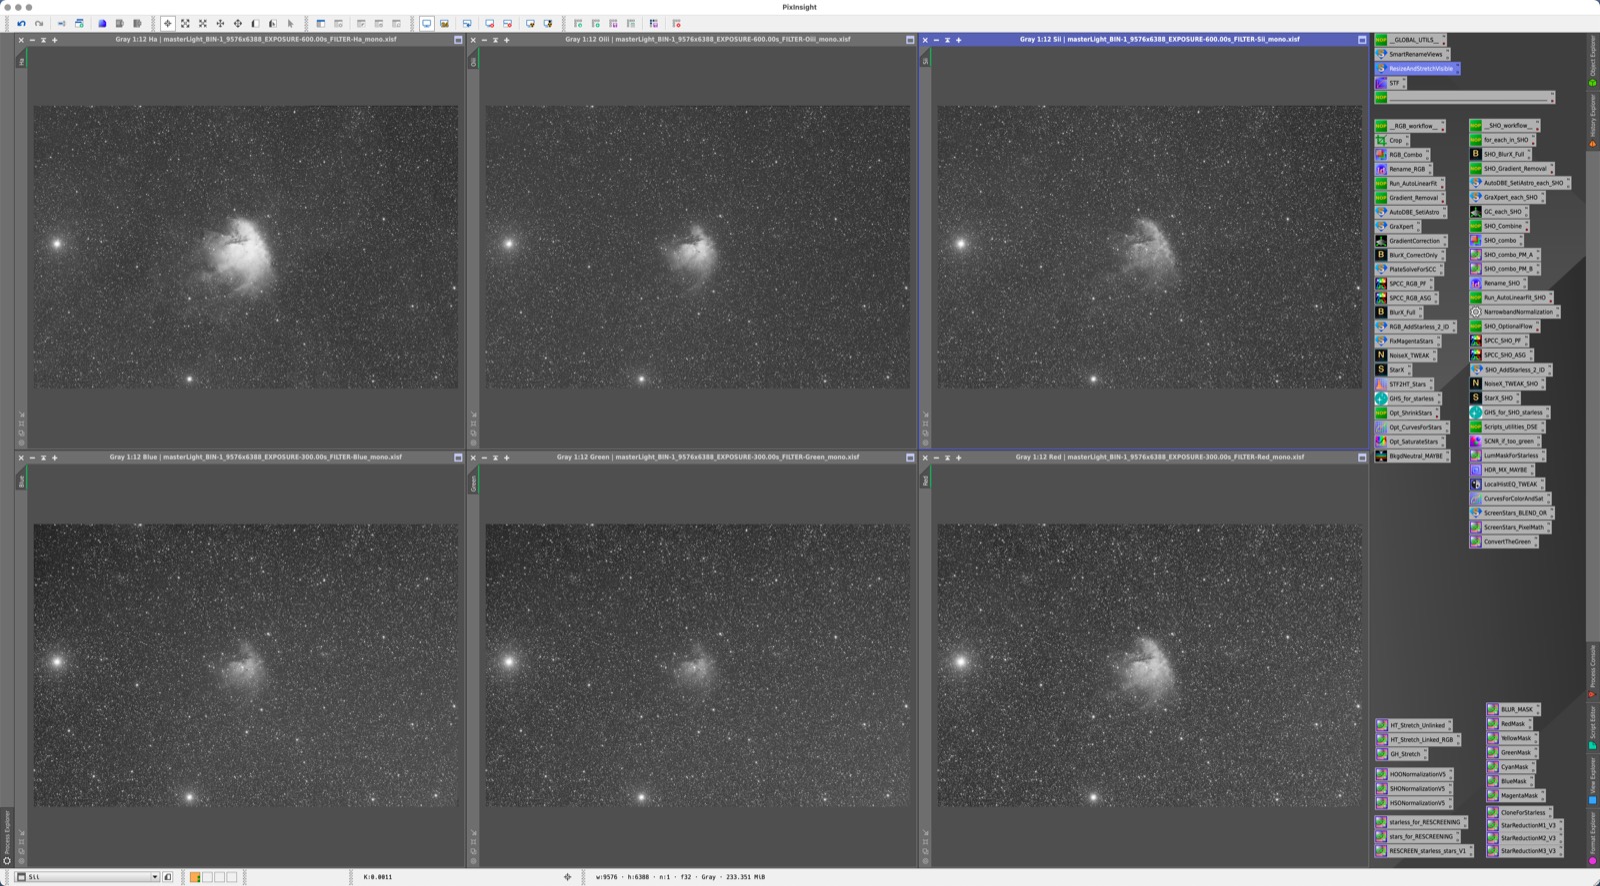
Even with the ImageIdentifier process icons it was still three to seven steps (LRGB and/or SHO) to rename the views, plus zooming and stretching each. With the added bonus of there being a good chance that I’d mess something up. That’s when I started looking into scripting.
theAstroShed PixInsight repo
I became a certified PixInsight developer so I could distribute some tools. Initially I wrote two tools to make the above steps easier, while reducing the chance for error.
The tools are SmartRenameView and FixTiledZoom. These two scripts replace
every step above for however many images are open (and visible- not collapsed or
iconized) in the current workspace. Both scripts are really designed to be used
from saved process icons (sample
icons),
then dragged onto the images.
Set view name based on the filter name with “Smart Rename View”
This script simply renames the main view of an image to match whatever is in the filter property of the image. This makes later processing steps more repeatable, so you can use the shorter name in them. You can also set it up to add a prefix and/or suffix to the filter names.
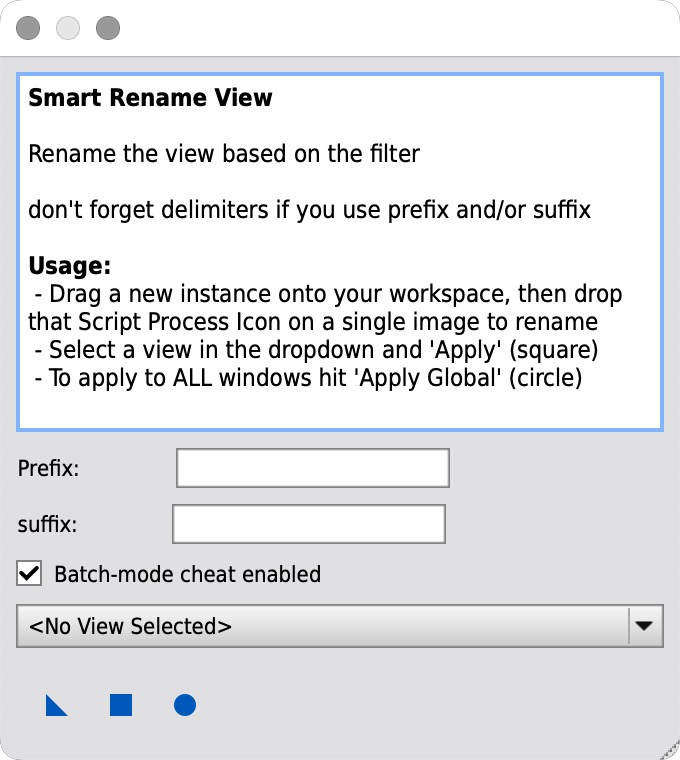
You can open the script and click the circle “Apply Global” button, for a
one-off run, or, the way I do it, is check the “Batch-mode cheat enabled”
option, and drag the new instance triangle to the workspace (optionally renaming
the process icon to something meaningful). In this mode you can then drag the
process icon onto any of the open images on the workspace to apply the rename
to all open and visible images (or hit the square to apply to the active
image). I have it set up so that it creates a history item so you can undo it
for each image if necessary. One drag, one drop, all nice names.
That leaves us with a bunch of black, unstretched rectangles. Rather than autostretching and fixing the zoom on each, one at a time…
Stretch & fit with “Fix Tiled Zoom”
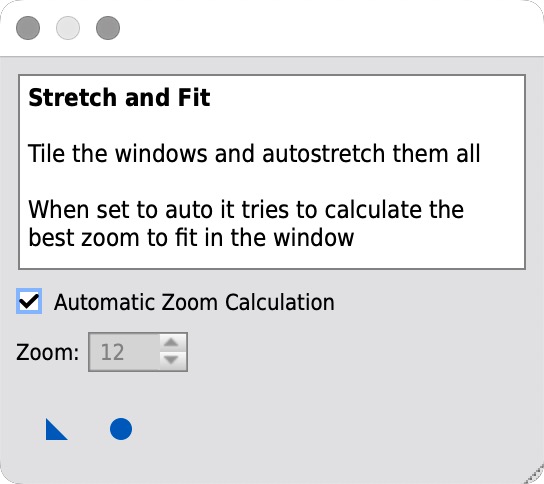
This script is pretty straightforward. You can specify the zoom level and hit
the “global apply” button, and each image will get STF auto-stretched (based on
each image) and zoomed to the specified zoom level (each to the same
level). Alternatively, you can select the “Automatic Zoom Calculation” and
apply, to have it figure out the optimal zoom for each of the visible images
based on the size of their respective viewport. I use that latter option, but
rather than apply it globally, I save off a new instance of the process icon to
again drag & drop it onto an image to apply to all of the open and visible
images.
Bonus Script: Append Prefix and/or Suffix to the Image Identifier
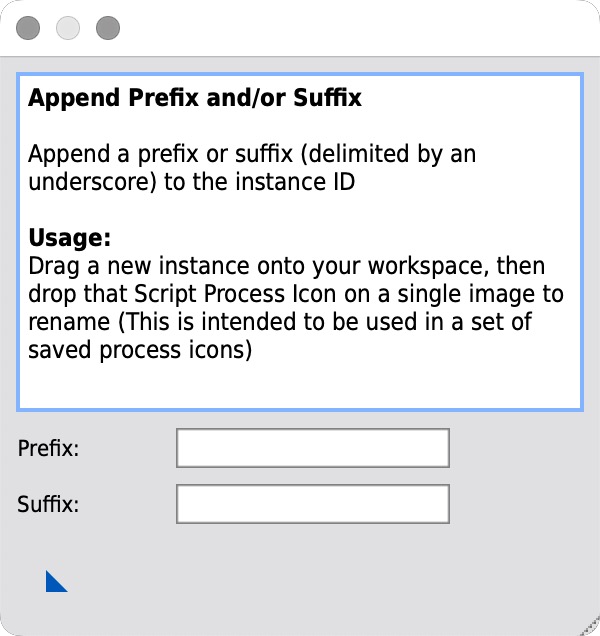
I still had a couple of places in my workflow where I had ImageIdentifier
process icons, and I wanted to be a little more flexible, especially now that
I’m working with both RGB & SHO image sets. Rather than rename something to
starless, wouldn’t it be nice to just append it to the RGB or SHO files, to
end up with SHO_starless?
I already had the prefix/suffix logic in the Smart Rename View script, so I made a standalone script, just for that. It really only makes sense for it to live as a saved process icon (I guess that these are “script icons”, really).
Installing the scripts
I hope that you find these scripts useful. To install these scripts, add the
following repository to PixInsight’s repository manager, then perform the standard
“check for updates” and restart logic. Note: Don’t omit the ending / or you
will likely get a 400 or 404 return code.
https://raw.githubusercontent.com/jamiesmith/pixinsight-repo/main/

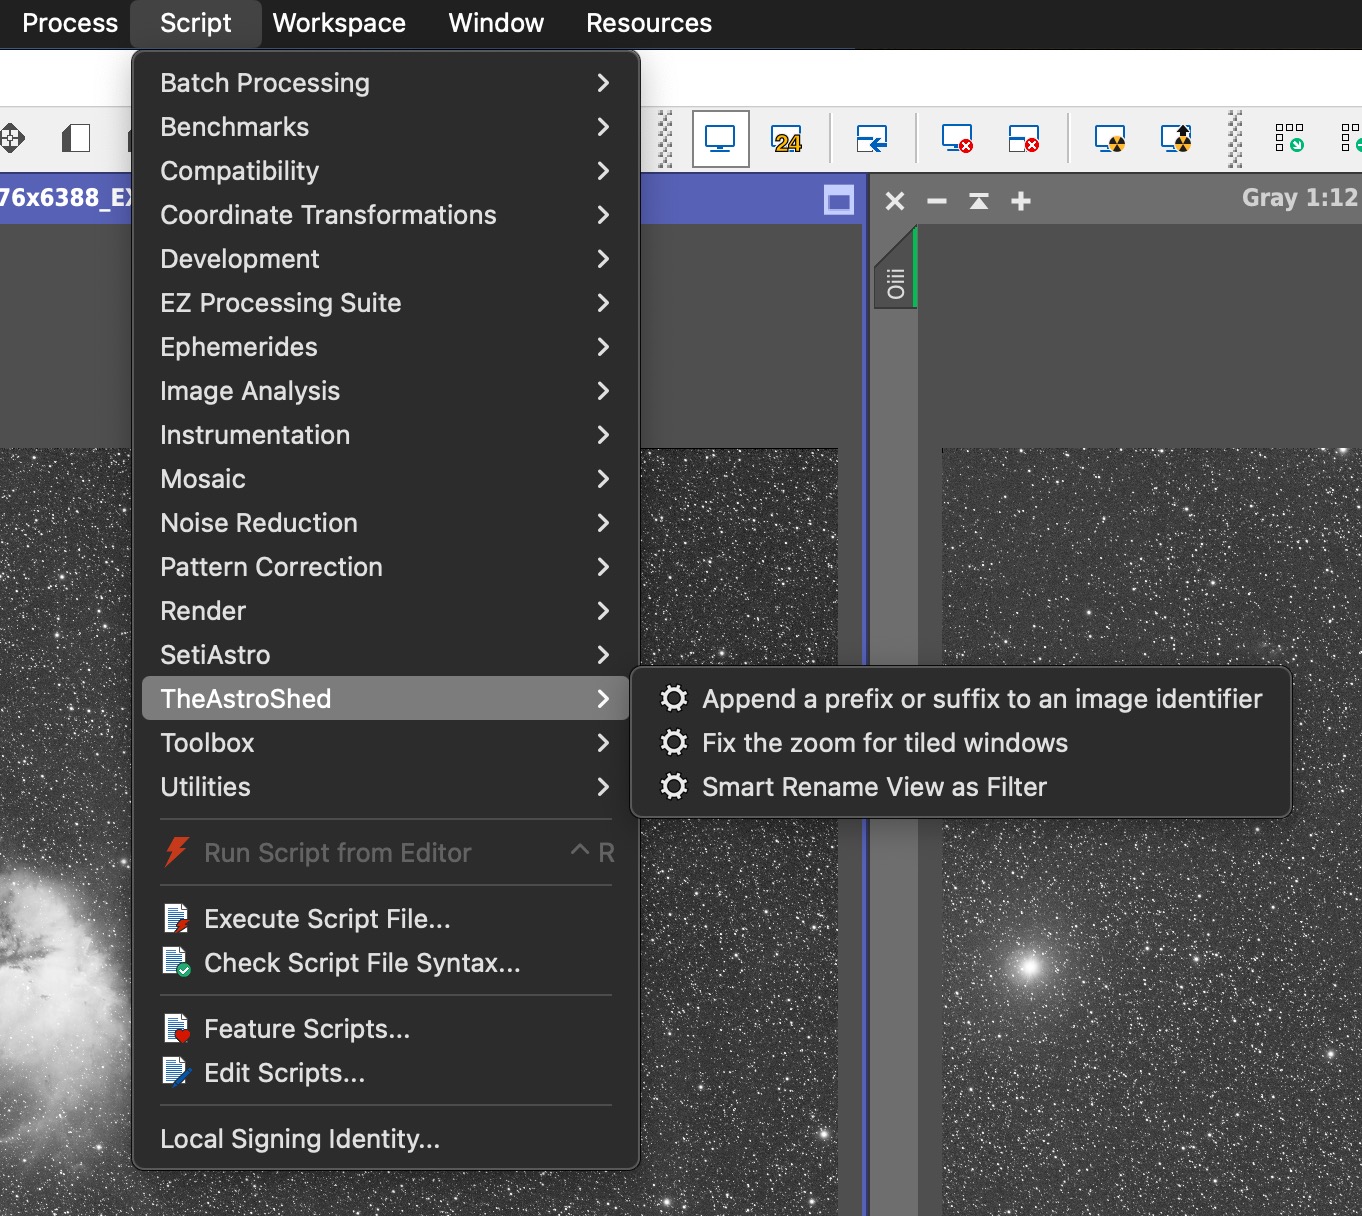
Once you’ve successfully installed and restarted PixInsight, you should see an
entry for theAstroShed under your scripts menu. You can download the and open
the sample process
icons
with PixInsight to see how I configure them (to download, right click the link and save the file)
Feedback
If you want to provide feedback, have a problem, or just want to let me know that you used the scripts, file an issue on the GitHub repo, or let me know on AstroBin or instagram.
In my next post RGB and SHO image processing workflows, 2024 edition
I run through a high-level overview of my lazy image
processing workflow that uses these scripts, along with several other great
tools (some paid, and some included with PixInsight)
